Unit 66
For Chris's lesson we were tasked with designing our own vehicle from our imagination. By effectively planning the design though concept sketch's, mind maps and eventually building a model of the design in 3DS-Max. So this means l will have to go though each stage of planning to make sure l know what l am aiming for when it comes to the final model. I am aiming to make my design manageable for my currant skill set meaning l want a design that's actually possible to make but is a challenge at the same time.
Mind Map
Here is a mind map l created to explore different ideas and themes with my design. I tried to include as much variety as possible in the suggestions l wrote down. Because from the start l wanted to create a mech model but this may prove to be too difficult. So a backup design would be necessary if my design should prove to be too difficult. For example l included spaceships and different themes that could be applied to these veicles to give them a purpose that can be regonized. Meaning if l added a red texture to a spaceship viewers would get the impression that the ship is some sort of future fire engine. This l hope will show creative and independant thinking in my design. When it comes to actually producing my work there are many example of models that l could take reference from when building my model. All over the internet there are websites ebtirely dedicated to showcasing 3D veicle models to the public offereing advice to beginers on how to make thier own.
Insert Picture Here
MoodBoard
As part off the planning phase we had to include professional examples of other peoples work to take inspiration from. These example were to be presented in a visually appealing way this can be done by using a moodboard. A mood board is just a compilation of revevant images all of which display content that is helpful to you. For mine l included reletivly simplified models without too many pesky details such as bolt's, guns anuthing that obsrtucted the overall shape off the model. As l am aiming to just model the basic shape of my design and if l have time have a go at adding smaller details.
The aim of a mood board is to present example in a fasionable way thats why l added a nice background
along with the modesl. To make it look interesting and actually want to take reference from.
Concept Designs
This is the main phase of planning a design. The purpose of a concept design is visually represent your idea allowing you to see your design more clearly. Here are some concept sketchs l did to further explore my ideas. I did actually draw alot more than what is shown here but l picked out the designs which l thought would be worth the most. Meaning ones l would actually like to model. I tried my best to illustrate a range of ideas instead of just doing my usual habit of drawing mechs. I have included spaceships, mechs, future tanks lots of different ideas for me to choose from. When drawing these designs l tried my best to keep in mind how l was actually going to model these. So l made the models out of as many basic shapes as possible then added detail to make it look better but the basic shape is stil noticable. From these designs it took me a while to decide on a final design as there were many designs that l knew l could draw clearly but wasnt confident l could actually build them in 3ds-Max. I don't believe that l am very talented when it comes to 3DS-Max so l will have to choose my design carefully.
Insert Image Here
Final Design
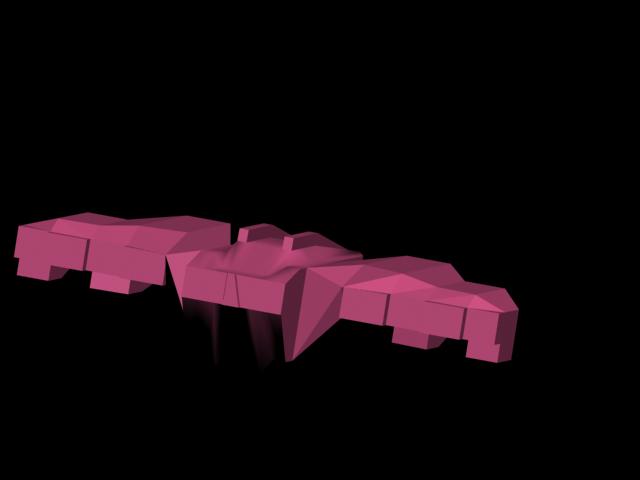
After all my planning l decided upon a final design. As you can see in the image below the model is almost entirely built of spherical objects. By using this common them l thought that l would manage to actually model the design due to it's simplistic build.
Insert Image Here
When designing a model it is important to show every viewpoint since a drwing is 2 diemensional and a model is obviously 3 diemensional. Of course you cant draw out every single possible angle on your design you would be there forever. Instead you simply draw 4 different viewports Front, Side, Back and Top. Just these 4 will illustrate a clear representation of your design and fully preparing you for the task ahaead which is actually modelling your design.


 In Chris lesson we experimented further with the use of spotlights in a 3d enviroment. By making a corridor out of a box then making spotlights emit from lamps we had made. Once we had made a single spotlight emit the wayght to we wanted it. We simply duplicated the spotlight so that the entire corridor was luminated.
 Here is a green light shinning diagonally across a black plane. It doesn't look very real but in this example l increased the intensity of the light and changed the direction. So that it it wasn't just a green circle and so that it does in a way resemble a spotlight shining across the ground.